How to use self-drilling screws? Step by Step Tutorial
BDN step by step tutorial on choosing the correct roofing screw types. 2 parts teach you how to use self-drilling screws
How to choose the correct screw? How to use self-drilling screws?
Screws, especially self-drilling screws, among other building materials, will only perform to their maximum potential when chosen correctly, and then installed properly.

The “how to” use self- drilling screws part can be broken down into two parts – How to “choose” the correct screw for the job, and how to “use” the screw correctly.
How to choose the correct self-drilling screw is explained in detail in our Step by step tutorial on choosing the correct roofing screw types. Simply put, it is the process of trying to determine the type of material that will be drilled through, and also the material and structure to which the self-drilling screws are affixed.
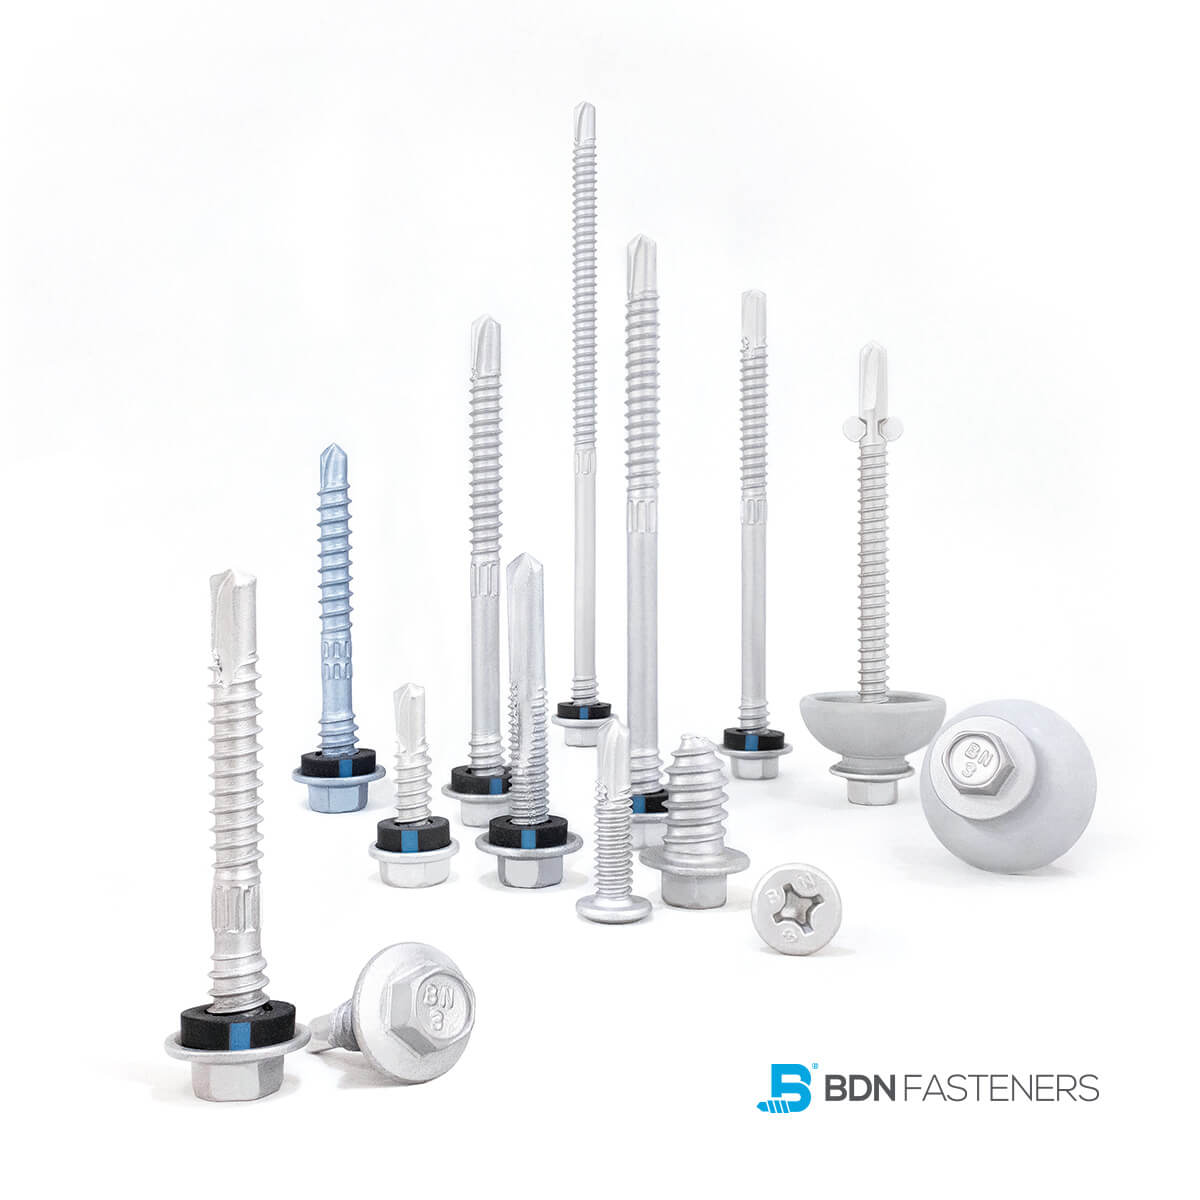
BDN Fasteners offer a complete range of self-drilling screws in different gauges, lengths, corrosion resistance, and unique designs to enhance mechanical properties and performance.
Recommended Reading: BDN Fasteners Types of screws for metal
Basic guidelines on how to use self-drilling screws
Once we have set aside the matter of making the correct choice, the second and equally important aspect of how to use self-drilling screws is the installation. The importance being that it correlates with the longevity of not only the self-drilling screws in itself, but the structural integrity of the joined material, and lifespan of the structure as a whole.
Basic guidelines on how to use self-drilling screws are:

1. Following the instructions on the packaging or from your dealer/distributor. When in doubt, stop what you’re doing, go through the instructions or talk to the dealer again.
2. Check the maximum drilling capacity of the screws. If the thickness of the metal substrate exceeds the maximum capacity, you should choose a longer screw.
3. Check if the corrosion resistant level is suited for your environment. For example, if you bought a simple, yellow zinc plated screw and expect it to last in coastal areas, think again.
4. Check the maximum recommended RPM (Rounds Per Minute) allowed during drill & drive. Exceeding the maximum RPM recommended by manufacturers during drill & drive is a recipe for disaster, as it will most definitely result in tip burnout and failure. Always err on the safe end and use a hand-tool with a torque limiter.

5. Do not over-drive screws. Over-driven screws have a tendency to crush the EPDM washers or rubber gaskets intended to create a tight weather seal over the hole between the screw head and affixed metal substrate.

6. Do not under-drive screws. Aside from not being able to fasten substrates tightly together, under-driven screws fail to provide sufficient pressure over the hole between the screw head and affixed metal substrate to create a weather-tight seal.

7. Always check the perpendicularity of the screws in relation to the drilled substrate during the drill and drive process. There is little to no chance of correcting a crooked driven screw, and normally a new hole has to be driven somewhere alongside the failed one. Washers on the skewed screw may also damage the substrate itself if it happens to be of a softer material such as plastic.
Recommended Reading: 4 common causes of metal roof leaks around screws