How to Install Steel Studs? Expert Advice for a Professional Finish
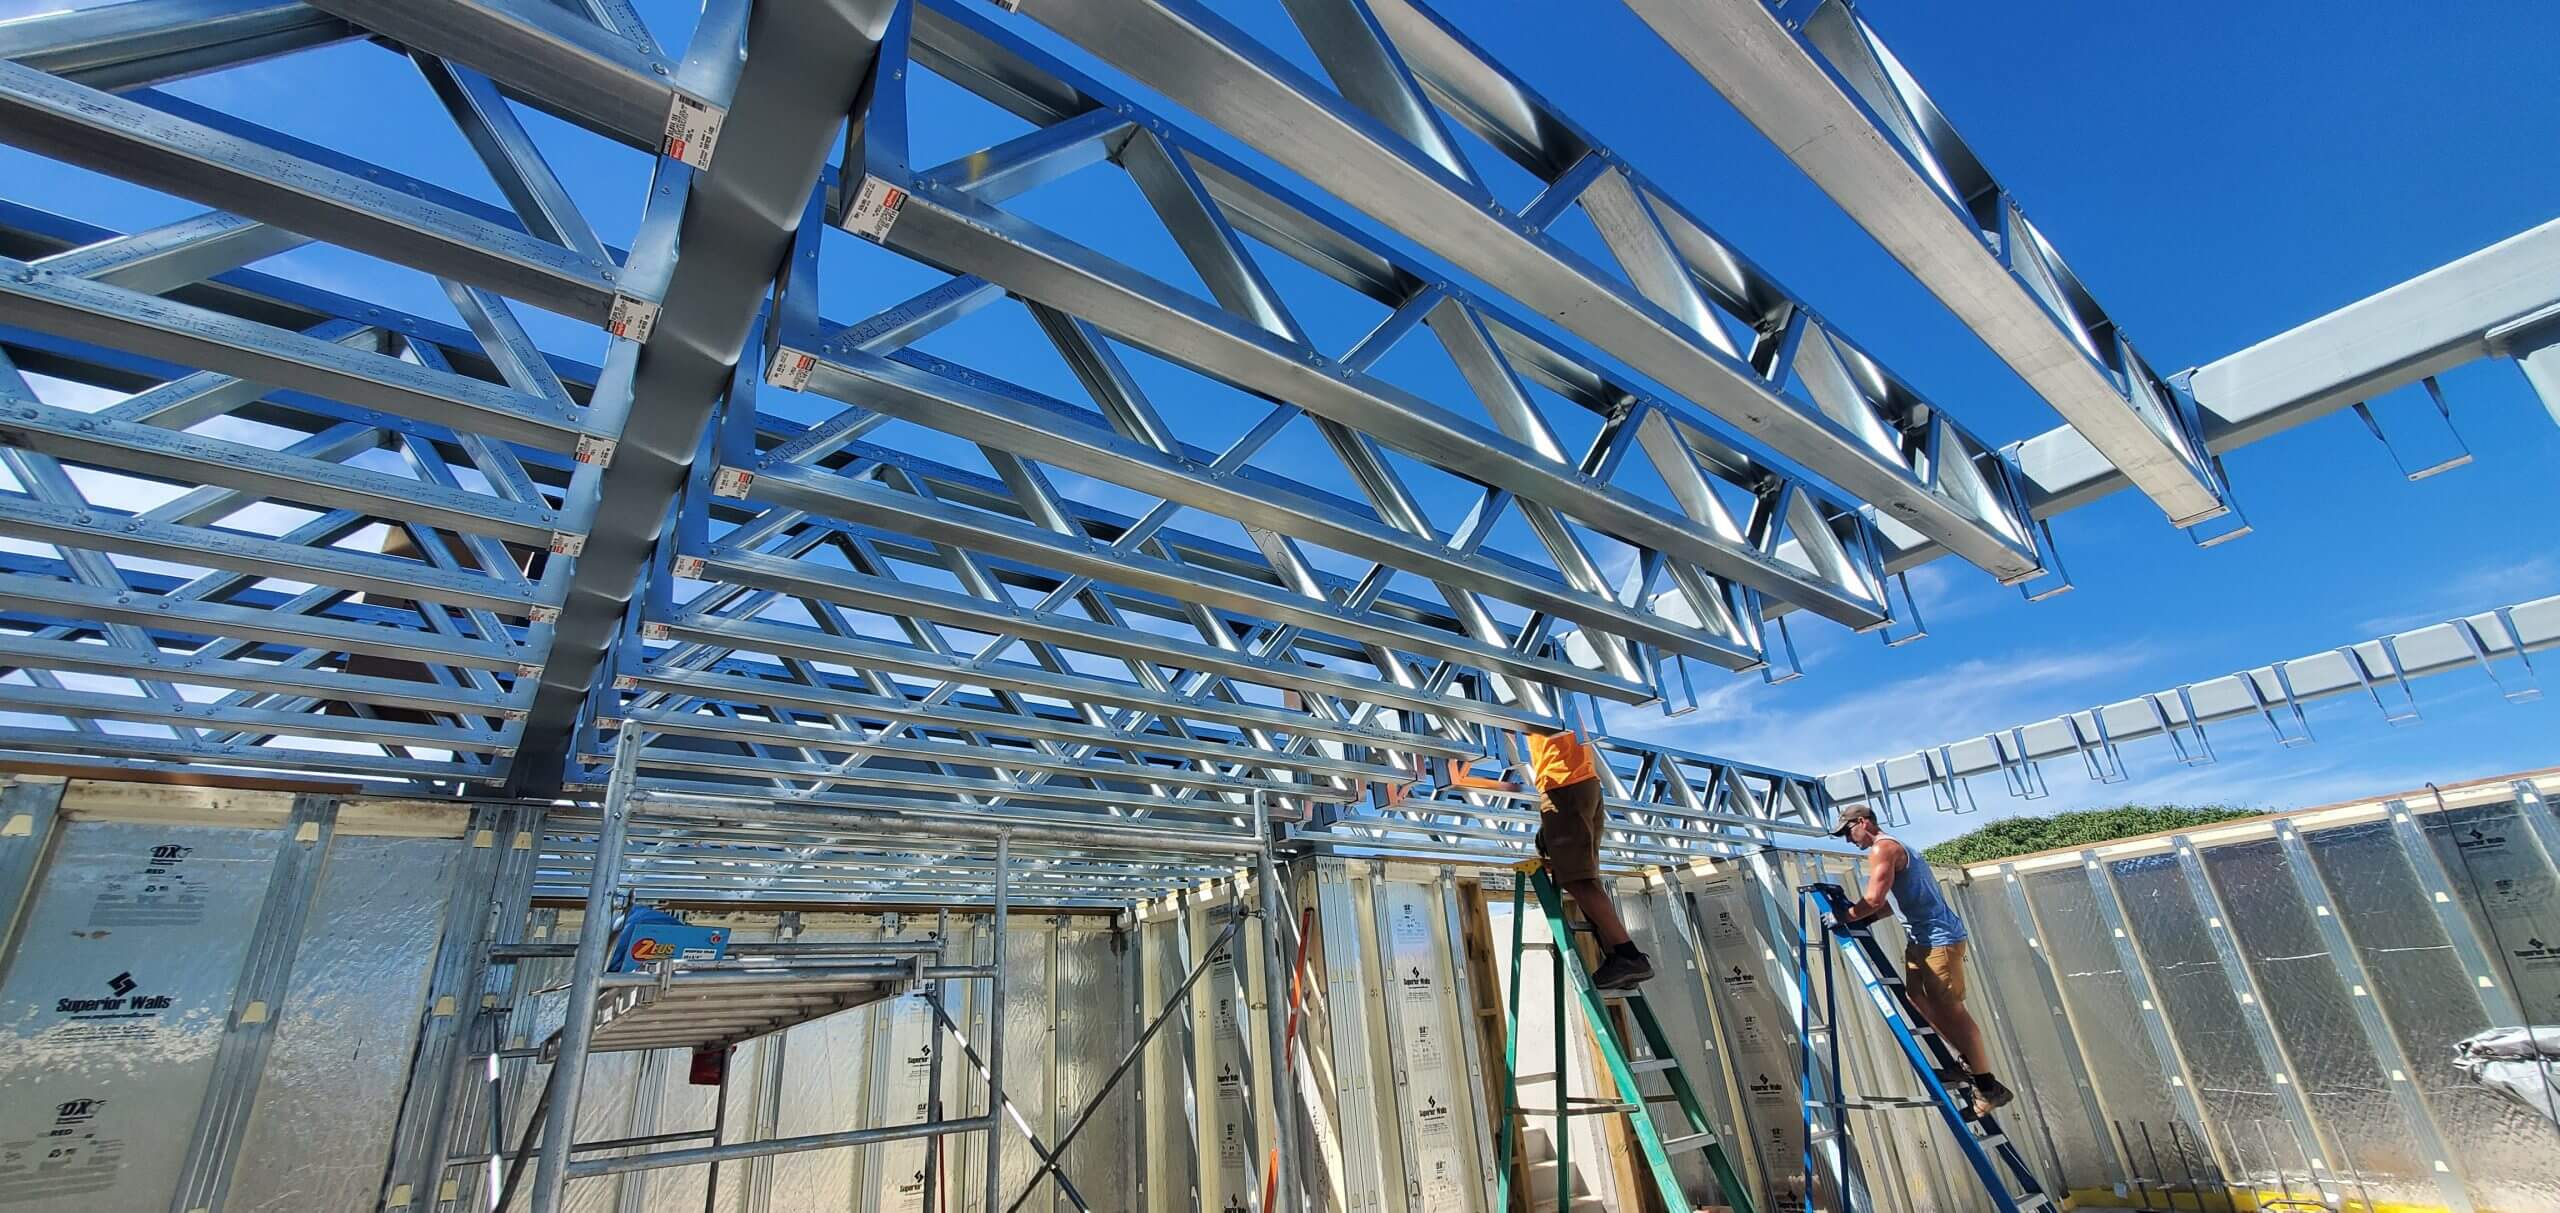
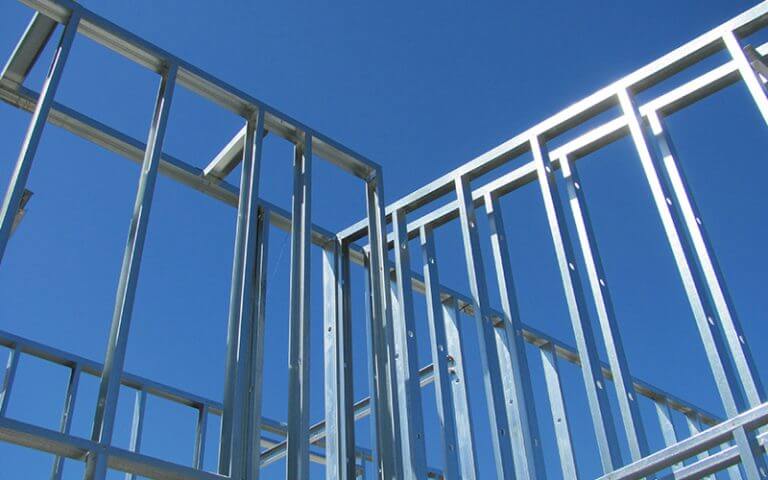
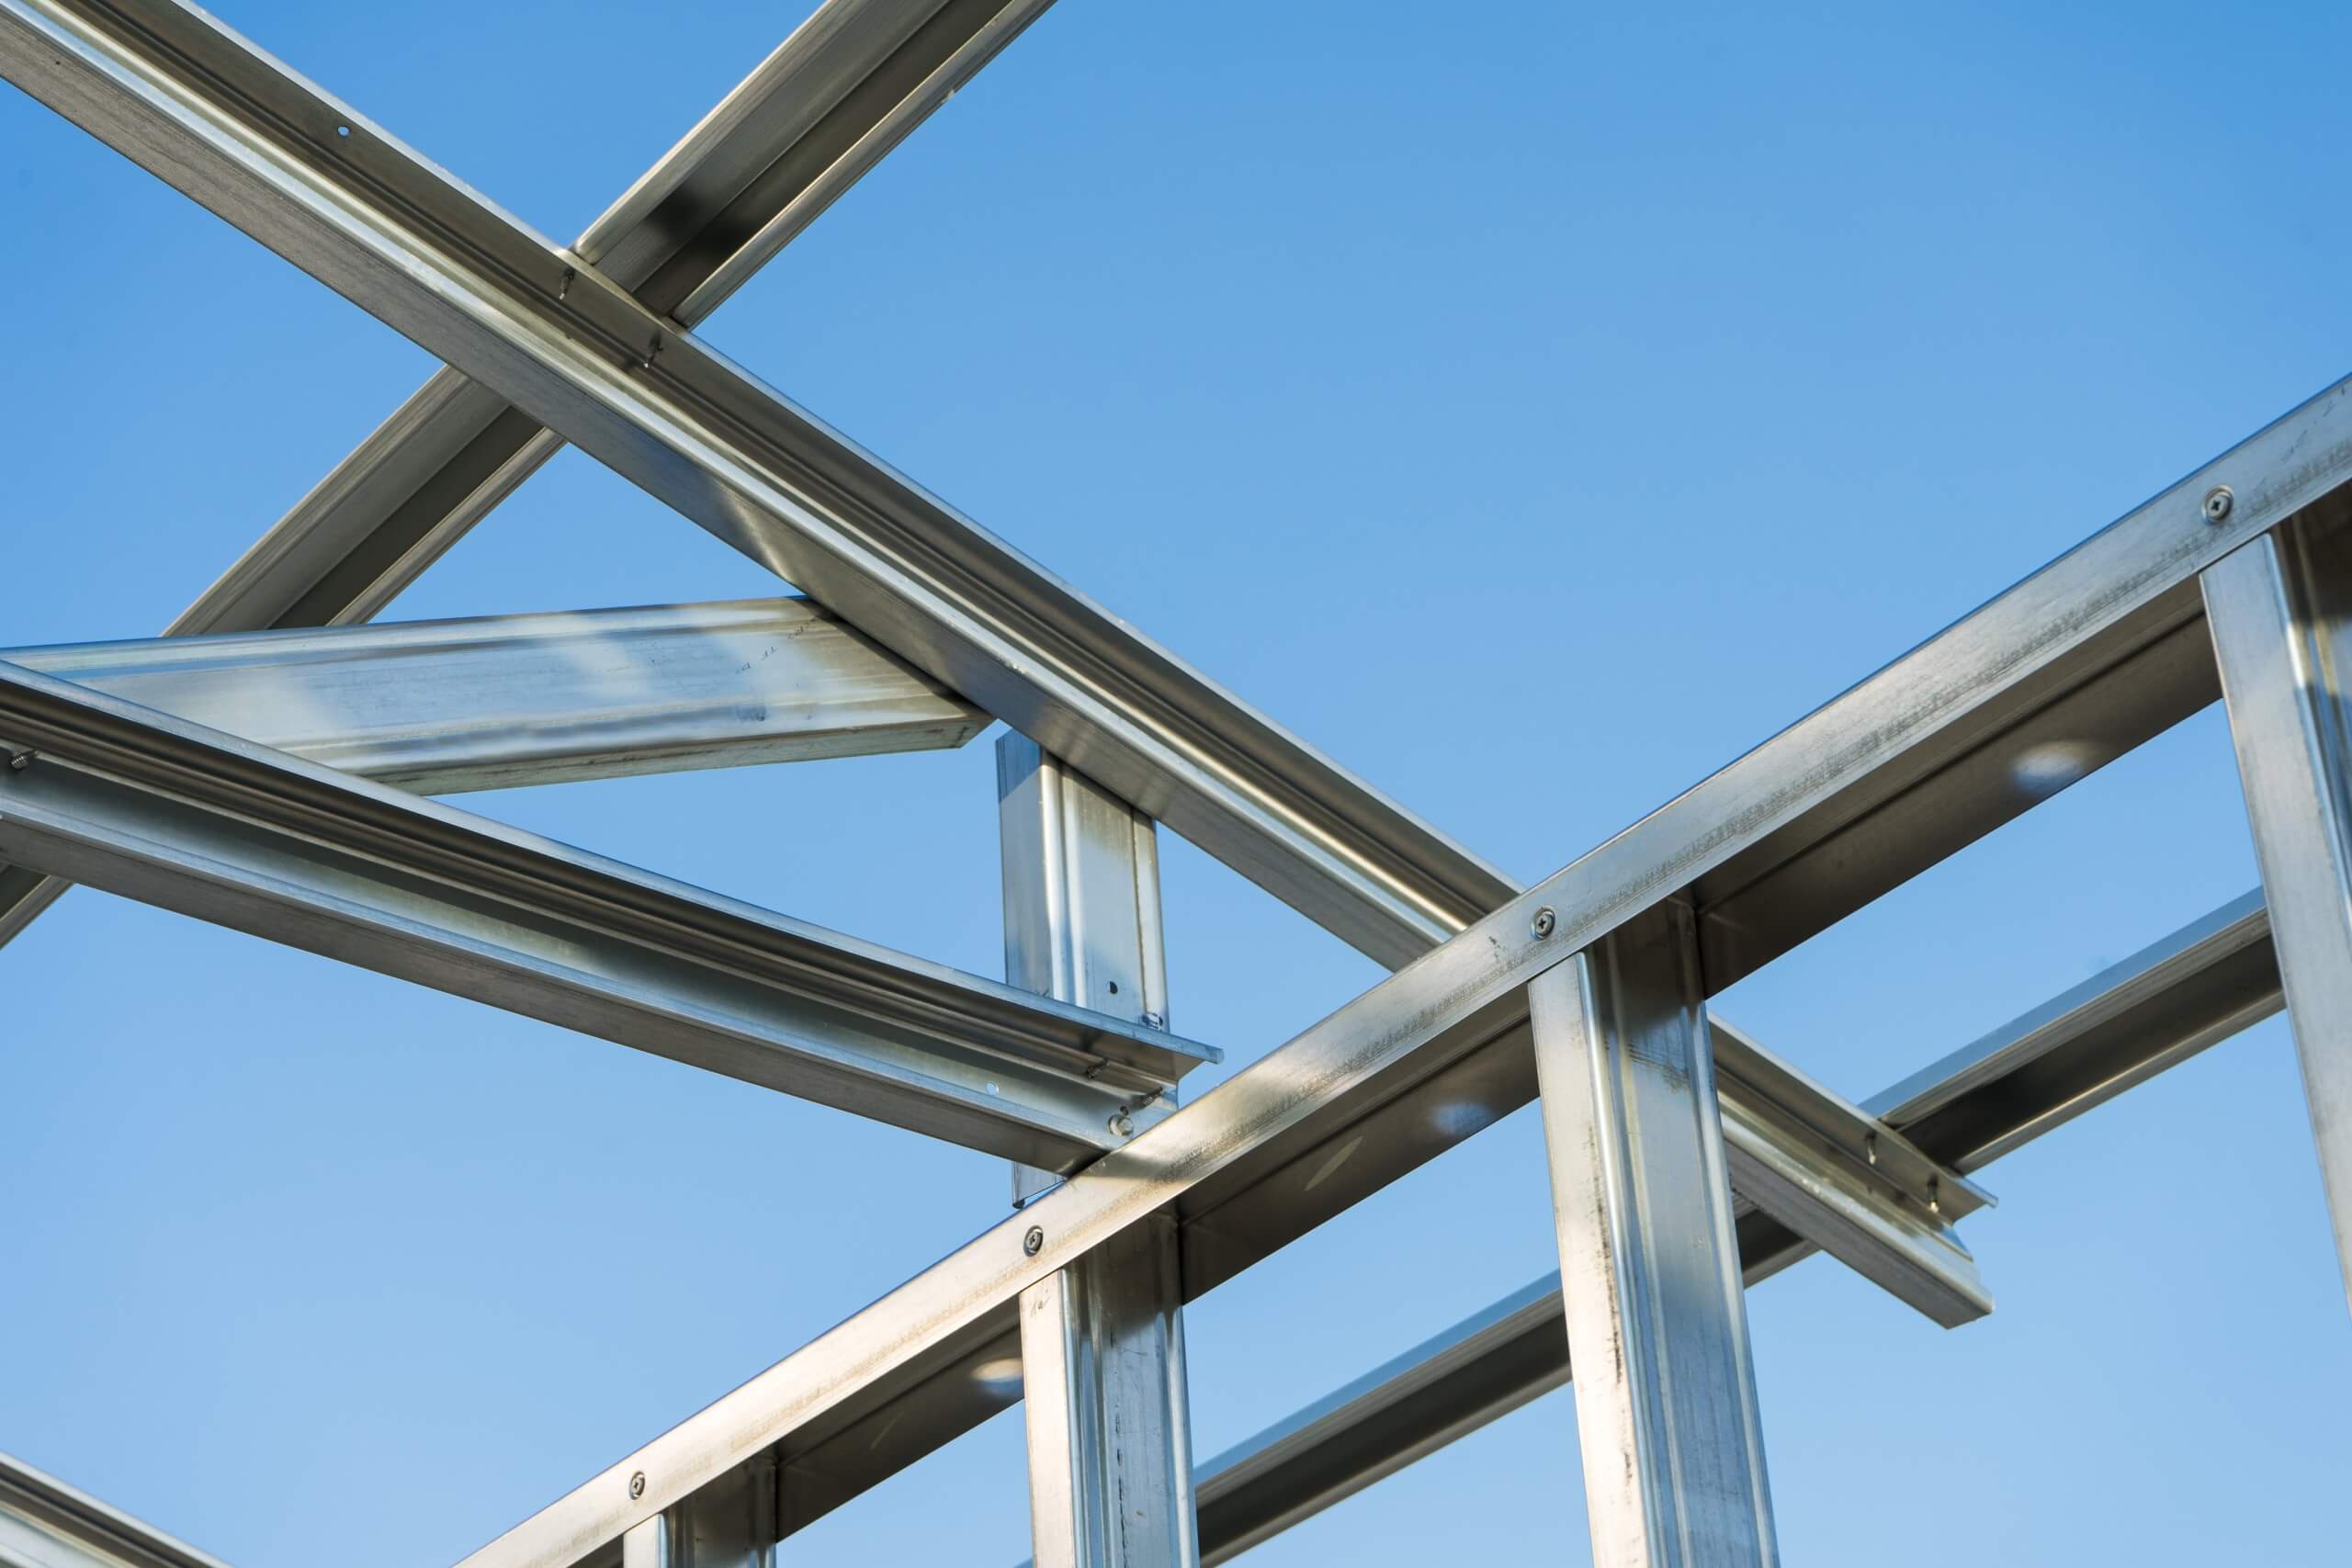
The use of light-gauge steel stud framing is increasingly common in commercial, residential and light industrial construction. Whether you’re erecting interior partition walls, external cladding supports, or full steel-frame structures, proper installation of steel studs is foundational to structural integrity, finish quality, and long-term performance.
Understanding how to install steel studs correctly means not only aligning and fixing the studs, but also selecting the right fasteners — especially the self-drilling/self-tapping screws that join the studs to plates, track, and supporting members.
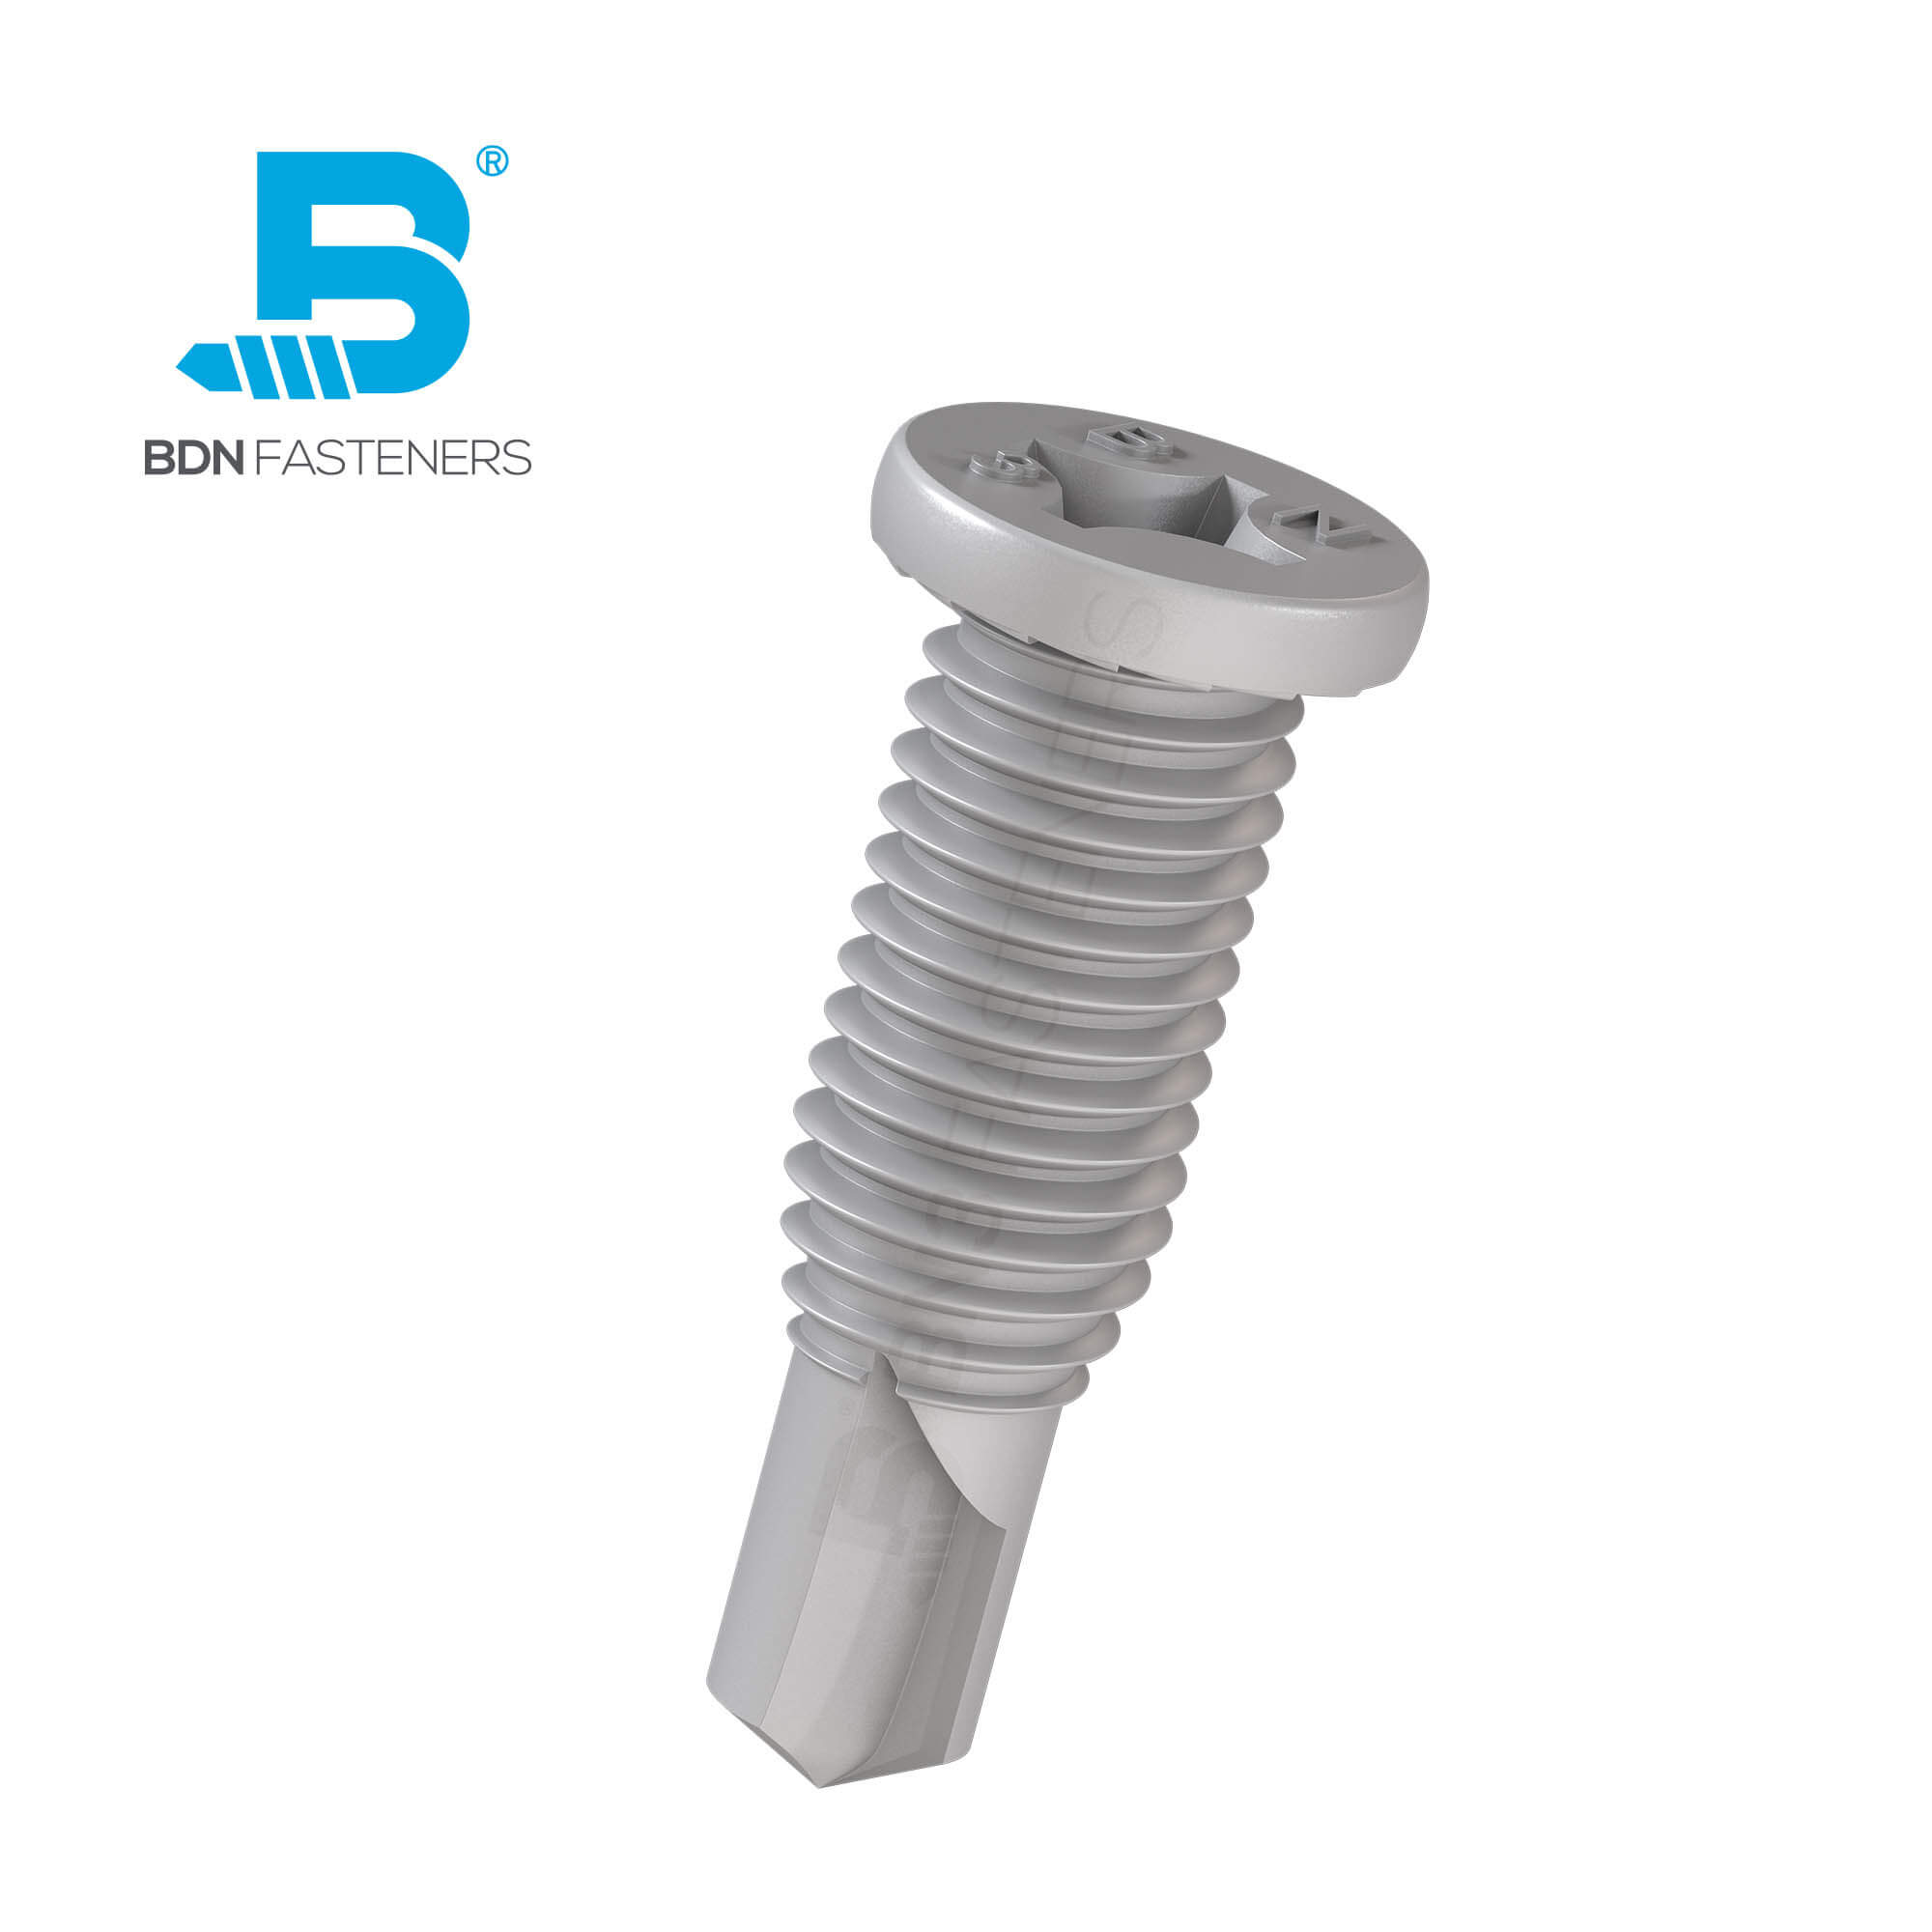
Screws such as BDN Fasteners FRAME-Tite™, TRUSS-Tite™, and METAL-Tite™ series are designed specifically for steel-to-steel and steel stud-to-plate connections.
This essay provides an end-to-end guide — from planning and material selection, through installation steps, to quality and finish checks — making it useful for both large-scale builders and DIY enthusiasts.
How to Install Steel Studs: Key Reasons Proper Installation Matters
Steel stud framing offers many advantages: consistent dimensional tolerances, non-combustibility, termite resistance (in many cases), compatibility with drywall and cladding systems, and the ability to deliver slim framing profiles.
But to deliver those benefits, the system must be correctly executed. Understanding how to install steel studs is essential, because a poorly installed stud wall can result in the following risks:
- Inadequate alignment or plumb, leading to finish issues with drywall or cladding
- Insufficient screw engagement or incorrect fixings, leading to structural weakness
- Improper stud spacing or inadequate connections, leading to deflection, vibration, or failure under load
- Poor finish around fixings (screw heads, toggles, washers) leading to aesthetic defects, leak risk, or corrosion over time
Selecting the right screw for the job is a key component here. For example, BDN’s steel-frame screw – FRAME-Tite™ is purpose-designed for stud-to-plate connections and fixings without pre-punched holes, offers superior holding strength, and complies with Australian AS 3566 corrosion resistant standards.
Hence, whether you’re installing interior partitions in a commercial fit-out or building a DIY storage room in your garage, following best practices yields both structural robustness and a high-quality finish.
Step 1: Planning & Materials Selection
1.1 Confirm the Framing Design
Start by reviewing the architectural or structural drawings: stud spacing (600 mm, 450 mm, etc), track size, stud gauge (e.g., 0.9 mm, 1.2 mm), length of wall, openings (doors/windows), head/foot detail, integration with ceilings and floors.
For DIYers, it helps to sketch the layout and mark the track locations, stud centers, and any vertical reinforcements.
1.2 Choose the Right Stud Profile & Gauge
Steel studs come in C-sections or U-sections, with varying gauges. Heavier gauges (thicker steel) give greater rigidity but cost more and weigh more; lighter gauges are more economical but require more careful connection and limit heights.
Ensure you choose studs that suit wall height, anticipated load, acoustic/insulation demands and finishing system (drywall, plasterboard, etc).
1.3 Select Correct Fixings – Focus on Screws
One of the most critical elements is fixings.
For steel stud installation, you’re frequently connecting studs to base/ceiling tracks, intersecting studs, frame plates, and sometimes structural steel or timber. Typical screws for metal-stud use are #6 or #8 size for standard light gauge framing.
More specifically:
- For stud-to-plate or stud-to-track connections, BDN’s FRAME-Tite™ Flat-Top Frame Screws are purpose-designed for stud-to-plate connections, without the need for pre-punched holes.
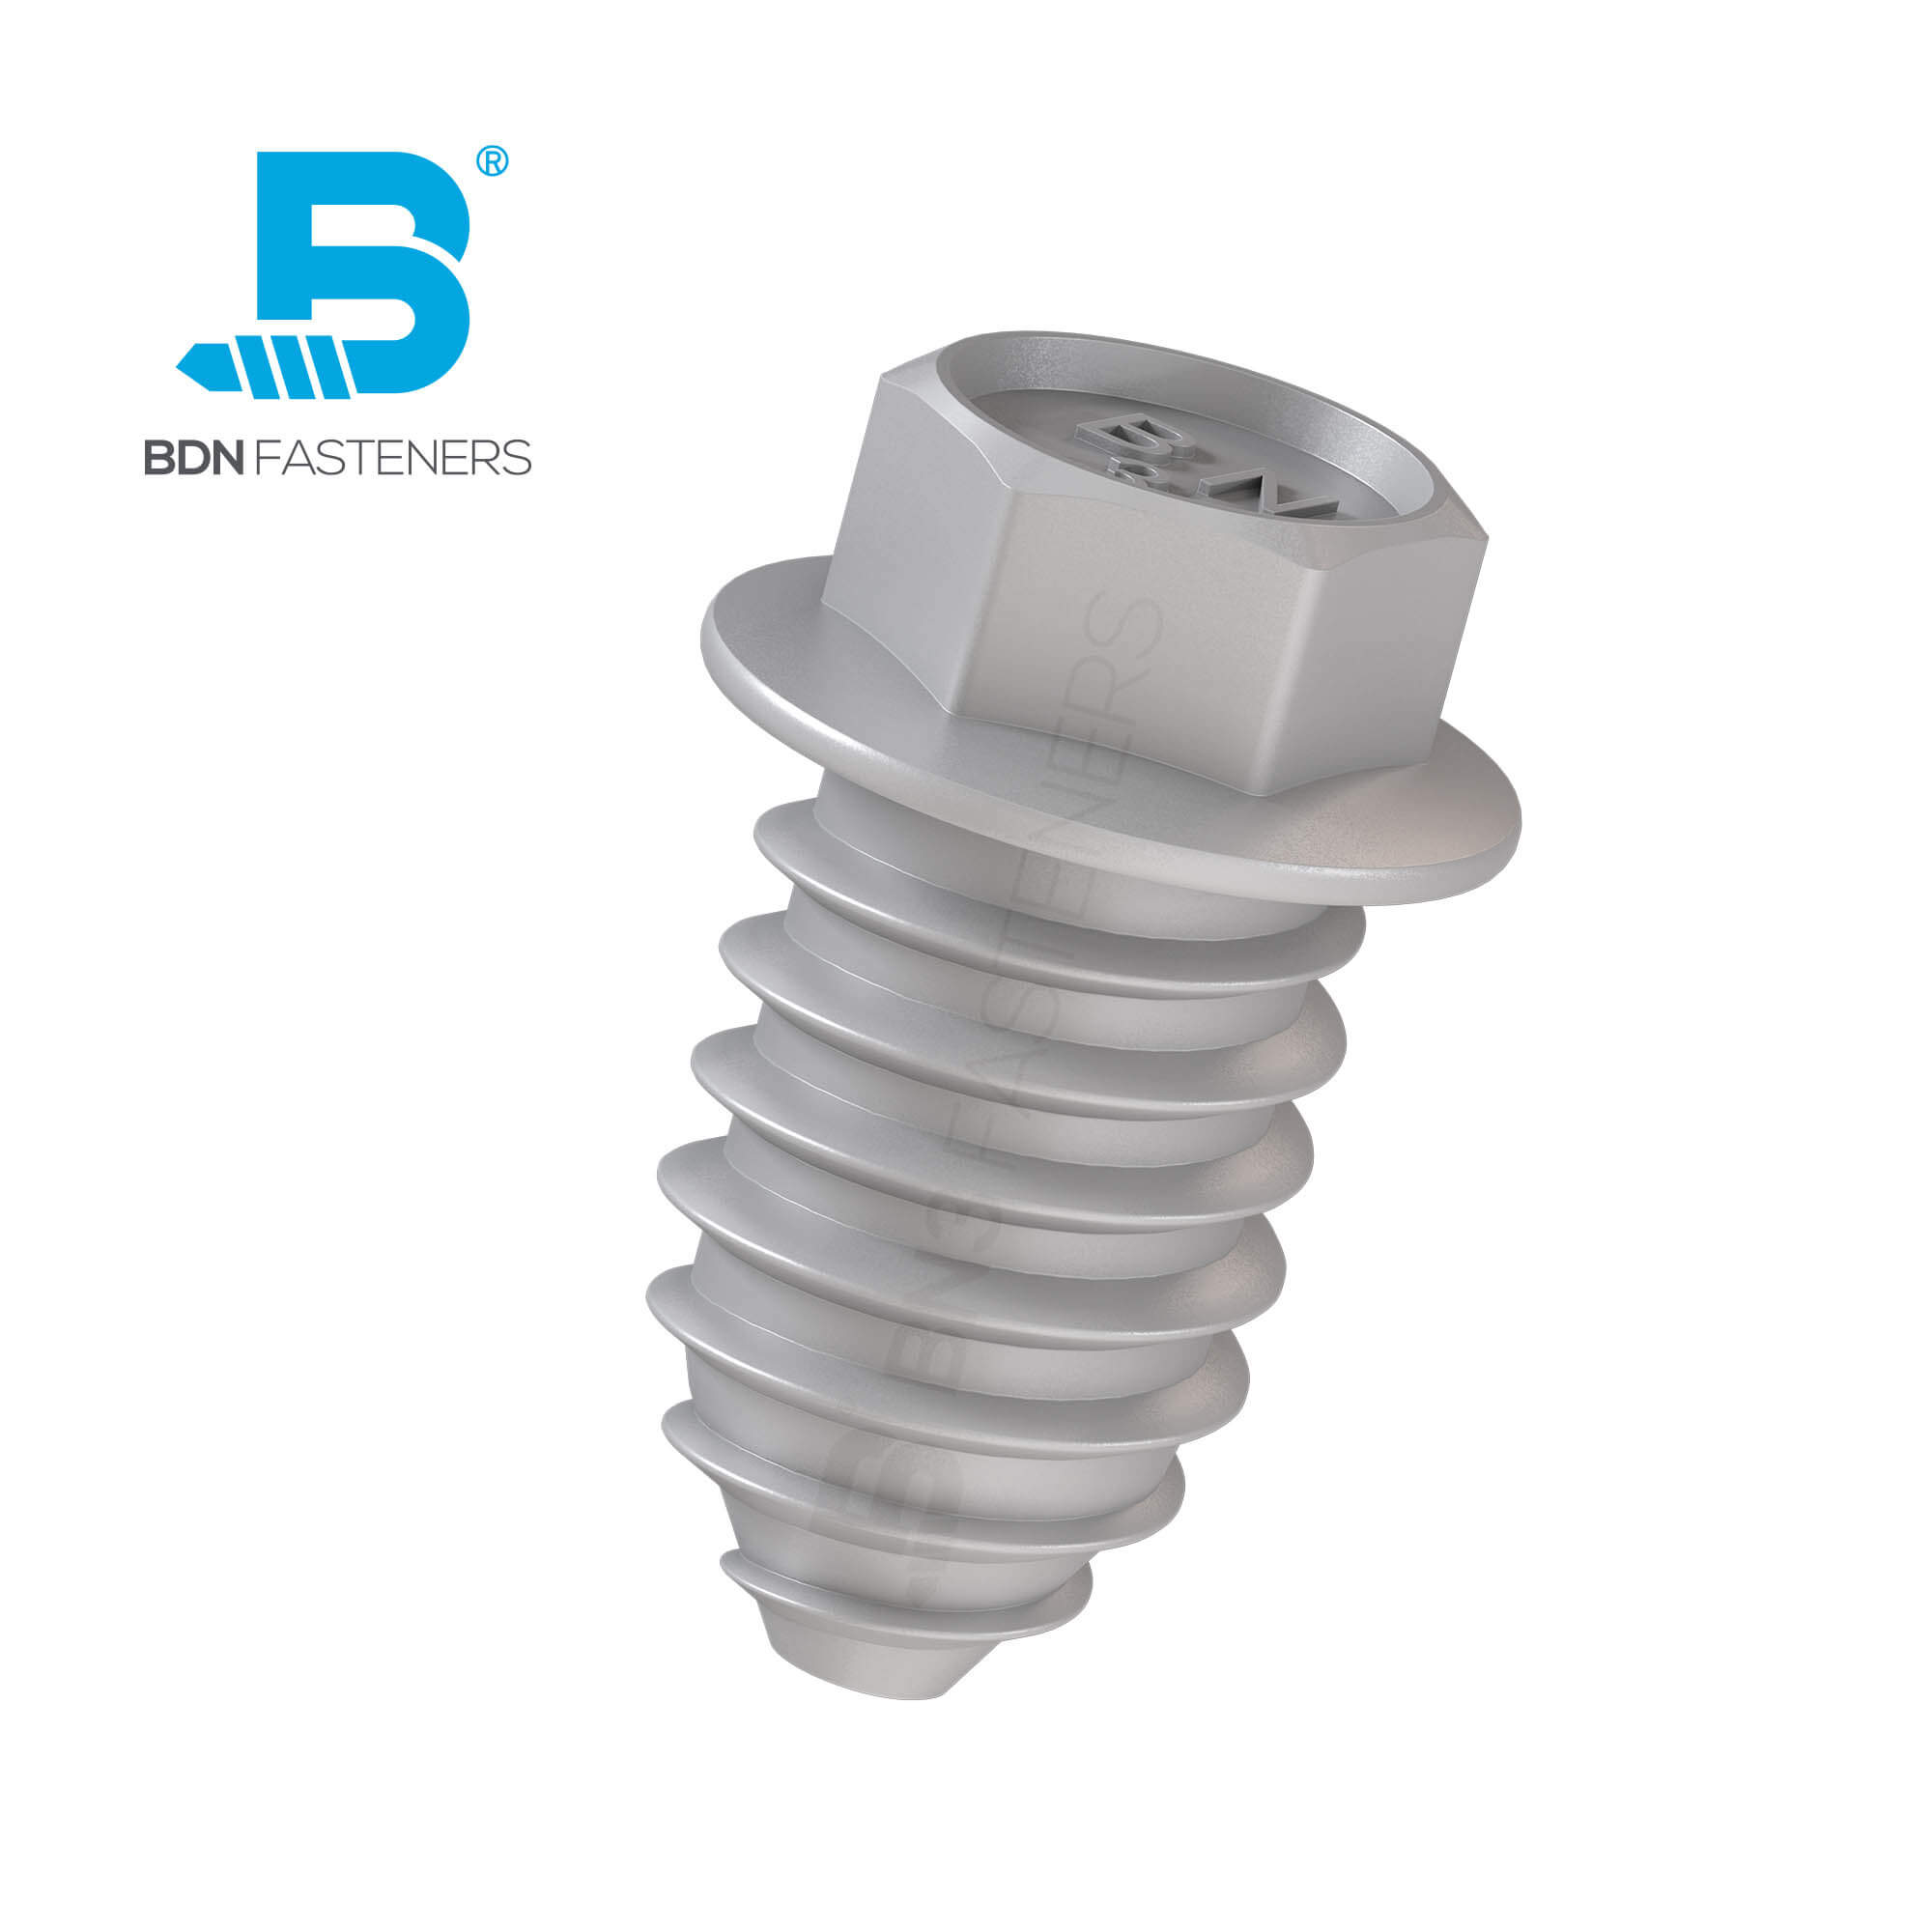
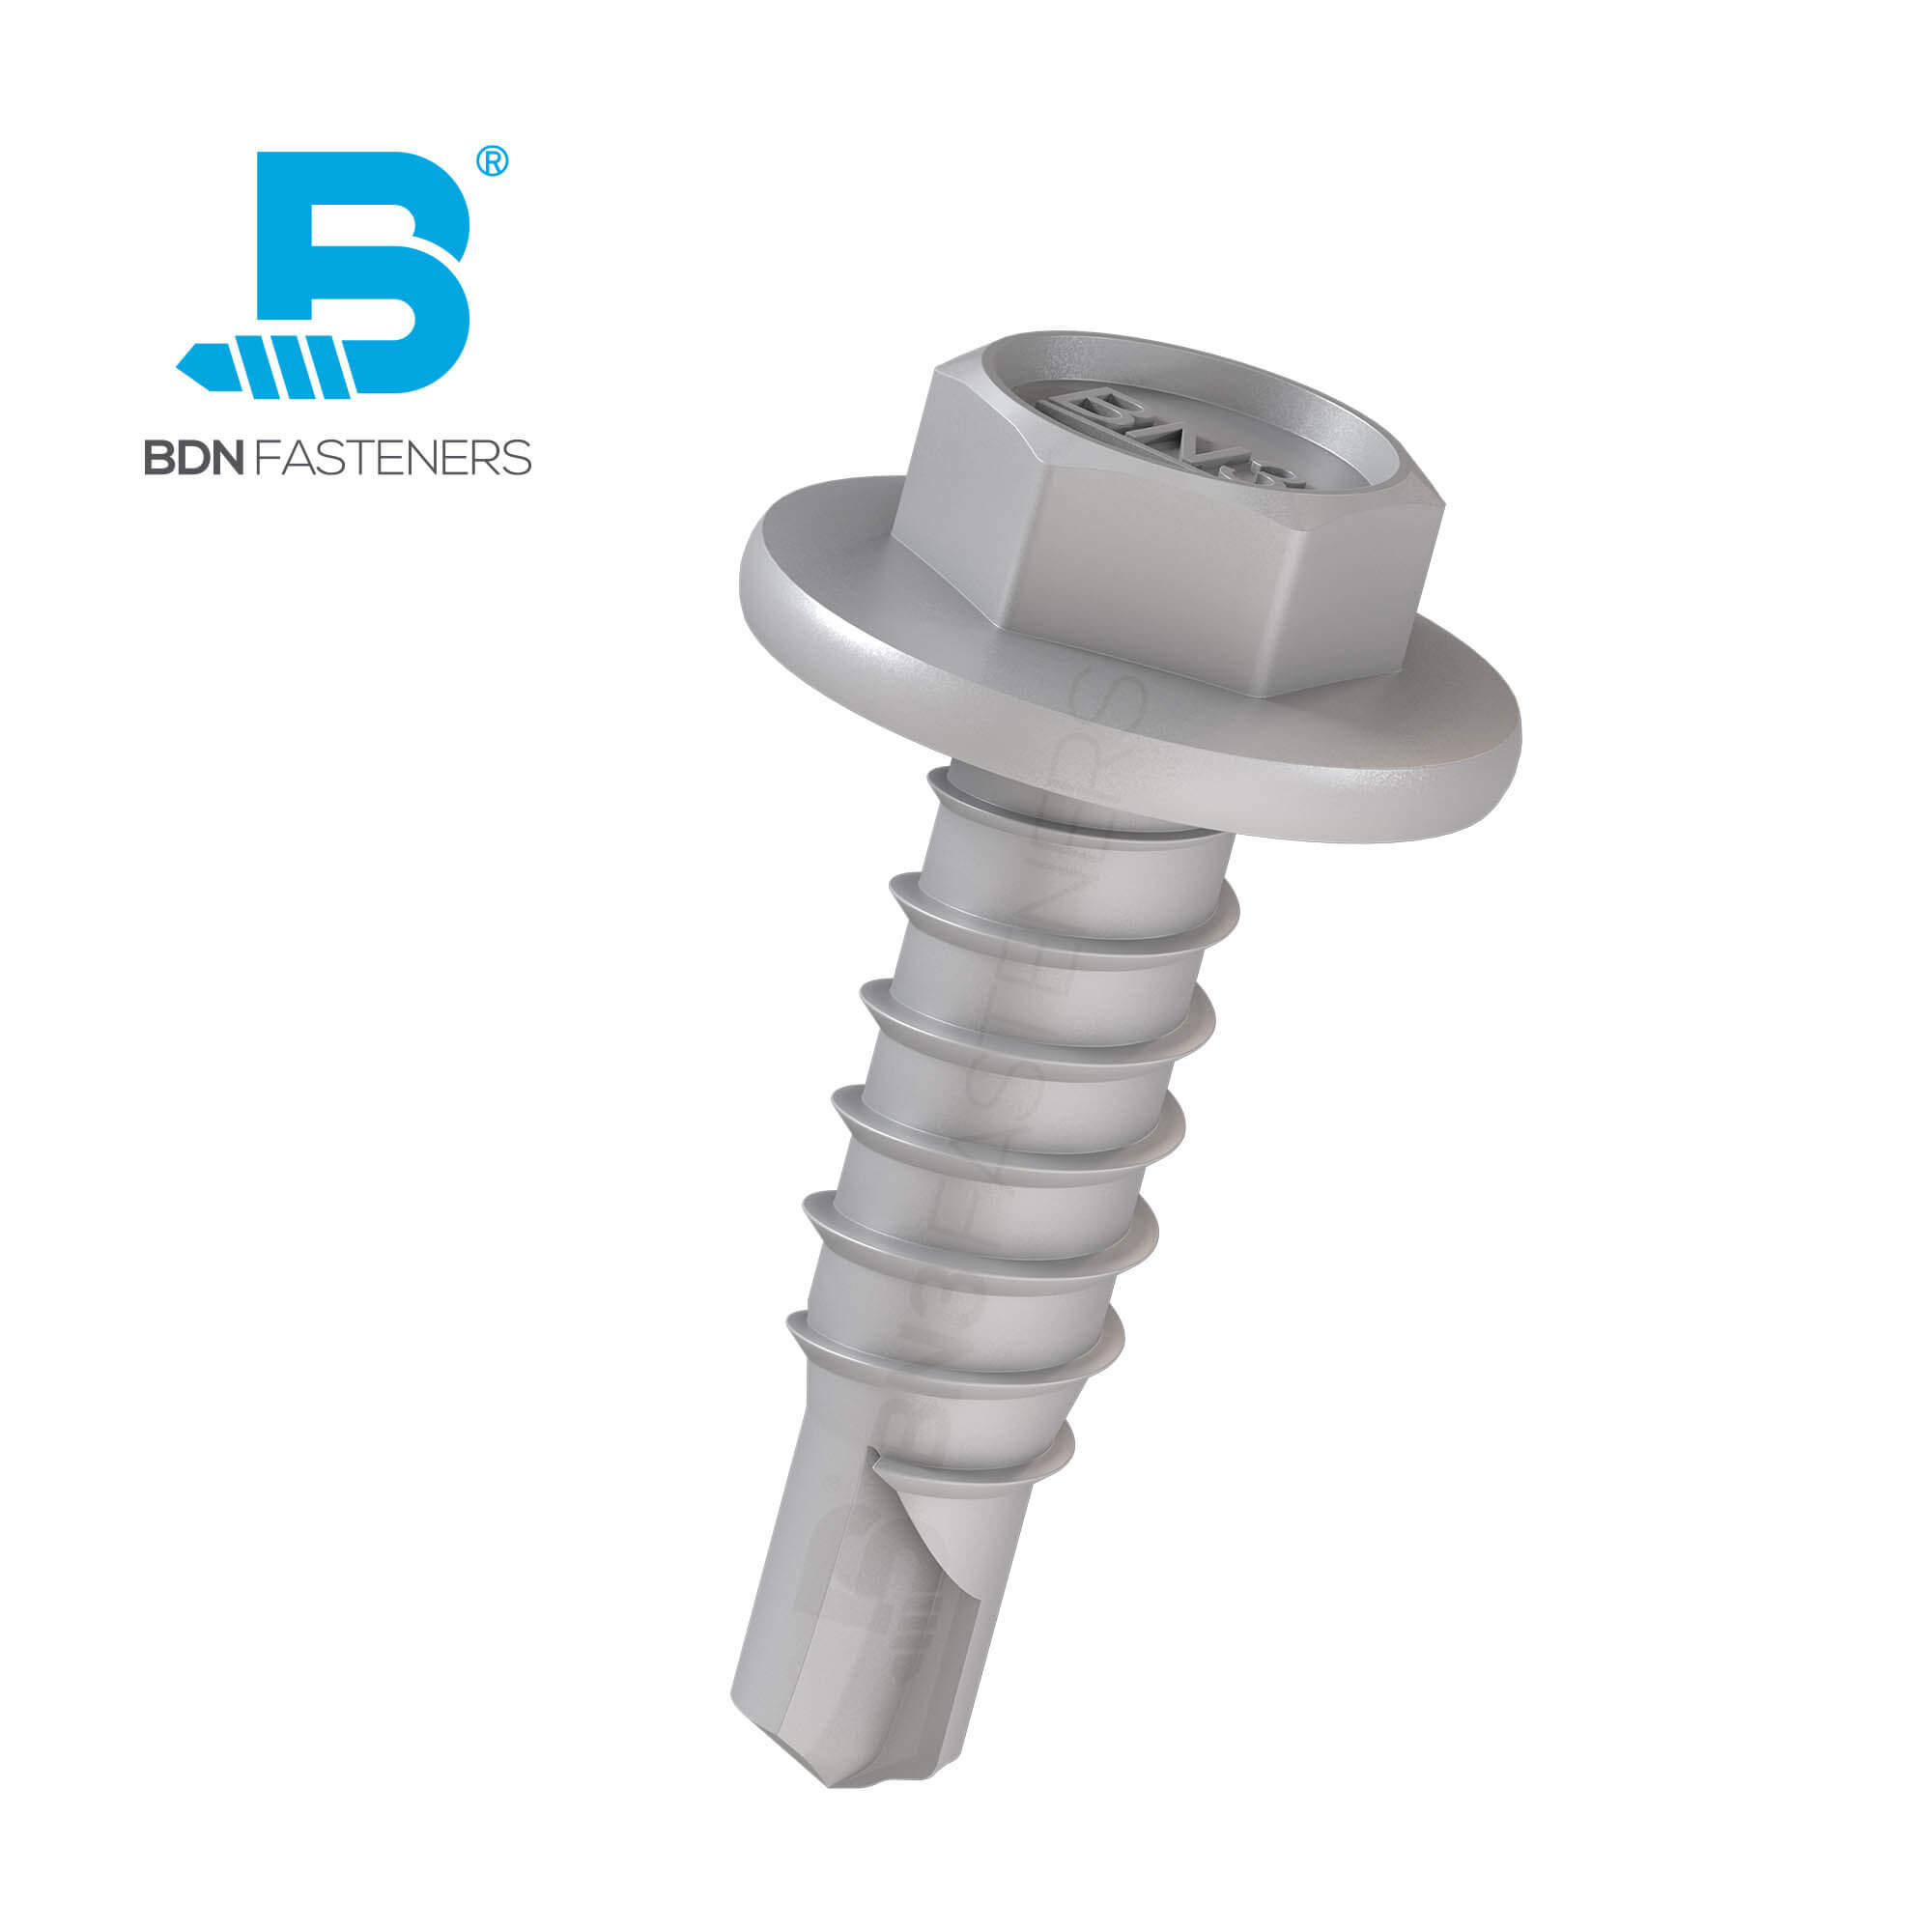
- For steel framing across plates/beams (truss-to-plate), BDN’s METAL-Tite™ or TRUSS-Tite™ screws cover the heavier duty fixings.
- When selecting screws consider the following attributes: length (must pass through components and achieve proper penetration), diameter/thread size (must match sheet/track/thickness and load), head style (flat head to sit flush, wafer head, etc), coating/corrosion class (especially for exposed or high-humidity environments), drive system (Phillips, Pozidriv, hex), and drill-point style (for self-drilling applications).
1.4 Prepare the Work Area and Tools
Ensure the floor and ceiling tracks are marked and ready. Tools required include: chalk line, spirit level, laser level (for checking plumb), metal stud cutter or snips, screw guns or drill-drivers compatible with the chosen screws, drive bits (PH2, PH3, hex, etc., as per the screw drive spec), and for discretionary use, pliers or a clamp for holding studs while screwing.
When installing metal studs to drywalls, which usually involves a large working area, using an automatic screw gun with a depth-setting paired with collated fine-thread screws is recommended.
1.5 Safety & Preparation
Ensure your working environment is safe: wear gloves (cut-steel studs are sharp), safety glasses, and hearing protection if using power tools, and comply with local building code for fire/partitions if required. Remove debris and ensure the tracks are clean and fixed securely.
Step 2: Installing the Floor & Ceiling Tracks
2.1 Mark and Fix the Tracks
- With a chalk line or laser, mark the track alignment on the floor (and ceiling if installing ceiling track).
- Position the base track (U-channel) and fix it to the concrete slab or floor structure as per engineer’s or manufacturer’s instructions. Ensure fasteners for the track are appropriate for the substrate (concrete anchors for slab, structural screws for timber or steel substrate).
- Then fix the ceiling track directly over the marked alignment. Use temporary screws to hold before final tightening.
2.2 Check Level and Plumb
With the tracks fixed, use a laser or long level to verify that the two tracks are parallel, aligned, and level. Any deviation here will propagate through the wall and cause drywall to bow or finish to suffer.
2.3 Securing the Tracks
Ensure that the tracks are fixed at the proper centers (typically at each stud location) and at edges/corners according to the spec. Use heavy-duty self-drilling screws or anchors for the track substrate.
For example if the track is fixed to a steel plate or concrete, you might use a self-drilling screw or suitable anchor. BDN’s FRAME-Tite™ framing screws are particularly suited for stud/plate fixings, especially where track meets steel plate.
2.4 Check for Floor Flatness / Deviations
Especially in long partitions, check the floor surface for irregularities; shim or use track clips if required to avoid transferring floor slope into the stud wall.
Step 3: Erecting the Steel Studs
3.1 Cutting and Preparing Studs
Using metal-cutting snips or a powered shear, cut the studs to the correct height (floor-to-ceiling track internal dimension minus any head/foot clearance). Deburr cut edges and ensure the flange edges are straight. A helper may hold the stud in place while you fix it.
3.2 Inserting the Studs into the Tracks
- Insert the cut stud upright into the base track and then into the ceiling track.
- Ensure the stud flange aligns with the interior face of the wall (i.e., the drywall side) unless a reversed orientation is required for specific insulation or services.
- Ensure the stud is fully engaged into the track and touching the track bottom and top flanges; there should be no gaps or canting.
3.3 Plumbing the Stud and Temporary Fixing
Before final fix, check the stud for plumb using a spirit level or laser. Once plumb is achieved, temporarily screw the stud to the track using appropriate screws – typically one at the base and one at the top.
3.4 Final Fixing with BDN Framing Screws
Once plumbed and aligned:
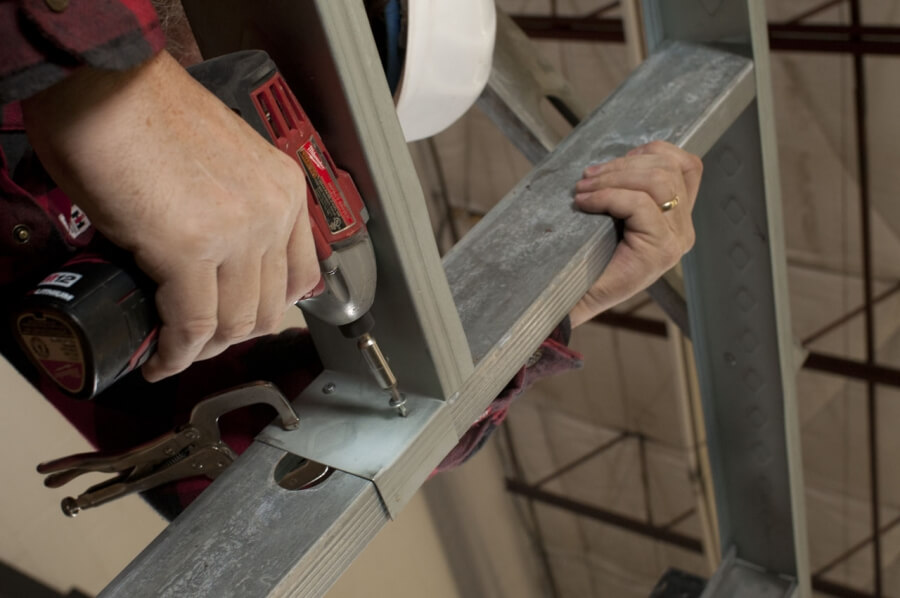
- BDN’s FRAME-Tite™ screws (Flat Top Frame Screw) are used for stud-to-track or stud-to-plate connections.
- Choose the screw length so it passes through the stud flange and into the track or plate sufficiently to provide full thread engagement (typically 1½–2 turns of thread into the backing).
- For each stud, fix two screws at the top (one on each side of the flange) and two at the base track. For longer walls or when bracing requires it, additional fixings mid-height may be appropriate.
- If fixing to steel plates or beams (rather than simply the track), consider BDN’s METAL-Tite™ or TRUSS-Tite™ series, which are suitable for heavier duty connections.
3.5 Ensuring Correct Screw Driving
- Use the recommended drive bit (FRAME-Tite™ calls for PH3+ or PH2+ depending on size).
- Set the drill driver’s clutch to a level such that the screw head seats flush (not countersunk unless specified). Avoid over-driving (which can strip the flange or deform the stud) and under-driving (which can leave the head proud and compromise drywall attachments).
- For DIY users, ensure the drill driver is perpendicular to the stud flange and holds the screw firmly while driving. For professionals, use screw-guns with depth stops and automatic feed for speed.
3.6 Stud Spacing and Bracing
- Typically studs are spaced at 600 mm or 450 mm centers unless specified differently. Use chalk lines from floor to ceiling to mark centres so each stud drops easily into place.
- Ensure bracing (wind bracing or structural bracing) is installed per building code — this may require diagonal braces, flat straps or additional stamped sections. The stud fixings to track must be solid to transfer these loads.
3.7 Installing Headers, Sills, and Openings
At doors/windows or large penetrations, install headers and sills as per structural drawings using heavier gauge or steel channels. Studs over these headers (jack studs, trimmers) must be similarly fixed at base and top tracks and often require additional screws and anchor points. Use heavy-duty screws accordingly such as METAL-Tite™ if the channel is made of steel.
Step 4: Installing Plates and Supporting Members
4.1 Fixing Plates to Structure
Where stud walls meet structural steel beams or concrete slabs, you may need to fix track or plate to those substrates. Select screws or anchors appropriate for the substrate: self-drilling screws for steel plate, concrete anchors for slab, etc. If fixing to steel, ensure screws meet thread engagement and coating demands.
4.2 Joining Stud Track to Floor/Ceiling
Ensure that the track is secured every 600 mm (or as per spec) and within 150 mm of each end, whichever is more stringent. The screws must pass through the track into the substrate, not just lightly seated. Use washers where required and ensure the head is flush.
4.3 Controlling Thermal Movement & Expansion
In long runs of stud walls, especially external ones, consider thermal expansion/contraction. If plates are fixed to steel or structural members subject to movement, design slots or allow slight movement rather than rigidly fixed long lengths. Stud screws must accommodate that behaviour — do not over-tighten so such that the screw fails to allow movement.
4.4 Horizontal Members and Stiffeners
If required by design, horizontal girts or stiffeners (e.g., steel channels fixed to studs) must be fixed with appropriate screws – the track to stud or channel to stud connection must transfer lateral loads, so choose screws accordingly (higher gauge, coatings, thread size).
Step 5: Installing Sheathing, Drywall or Cladding
5.1 Attaching Sheathing to Studs
Once the studs are all fixed, you move to sheathing (e.g., plasterboard, gypsum board) or external cladding. It is critical that the studs are plumb, spaced correctly, and have no protruding screws before attaching.
5.2 Ensuring Screw Heads from Stud Fixing Are Clear
Before drywalling or cladding, inspect the stud faces for any proud or protruding screw heads. A screw in stud-to-track that stands proud may interfere with drywall and show through the finish. Correct any by removing or punching slightly below the flange level.
5.3 Fixing Drywall / Cladding
Use screws appropriate for attaching drywall to steel studs — BDN also offers drywall screws in fine and coarse threads, which are either black phosphate coated or yellow zinc plated, and are packaged in either loose cartons or collated in plastic strips for fast and easy installation using a standard screw gun plus an attachment.
While this step is not strictly part of the stud installation, the quality of the stud assembly impacts finish quality.
Ensure you follow the spacing guidelines: typically screws at 150 mm centres around edges, 300 mm in field (or per manufacturer) on drywall. For exterior cladding, sealing washers, proper lap details and corrosion-resistant screws are required.
5.4 Opening Preparation and Services
As you install the studs and sheathing, consider services (electrical, plumbing, HVAC). Box-outs, service voids and cut-outs should be planned. Fix service brackets to studs with appropriate screws; ensure penetrations are fire-sealed if required. Use bridging or resilient channels where required for acoustic isolation.
Step 6: Quality Checking & Professional Finish
6.1 Plumb, Level & Alignment
Walk the entire wall run: check that each stud is plumb, that the track alignment is consistent, that the surfaces are vertical and flush where required (e.g., flush with adjacent walls). Use a long straight edge or laser to spot deviations. Correct deviations now rather than after the finish.
6.2 Screw Fixing Integrity
Check that all stud-to-track or stud-to-plate screws are seated properly: no head-lifting, no stripped threads, no missing screws. BDN’s FRAME-Tite™ screws are designed with a smooth flat top head for discreet fixing in addition to providing superior holding strength.
Remove or fully seat any screws that are proud, back out damaged screws and replace with the correct product.
6.3 Shear Wall and Bracing Verification
If bracing or shear wall panels are part of the system, verify that the bracing is correctly fixed, that the stud fixings can take the lateral load, and that connection details (e.g., straps, hold-downs) are correctly installed.
6.4 Fire and Acoustic Checks
If the partition has fire-rating or acoustic specifications, confirm that the rated gypsum board, fire stops, acoustic seals, resilient channels and fixings are correctly installed. Fixings through fire-rated assemblies must comply with the relevant code and manufacturer instructions.
6.5 Corrosion & Environmental Considerations
Check that the screws used are of the correct coating class for the environment (indoors, outdoors, humid, coastal). BDN Fasteners’ are manufactured to Australian AS 3566 standards and come with different coating options for different environments.
For external cladding where moisture or salt exposure is present, choose screws that come with adequate weathering resistance for prolonged service and lifespan.
6.6 Finish Readiness
Once studs are installed and verified, ensure any cut-off ends are clean, no excessive burrs remain, and junctions between walls, ceilings, and floors are ready for linings or finish. Use dust extraction, clean the area, and vacuum metal shavings which may corrode or interfere with drywall fixings.
Tips & Common Mistakes (And How to Avoid Them)
Mistake 1: Incorrect Screw Type – Wrong Fixing for the Task
Using screws designed for light drywall to fix studs into steel plate or track is a frequent error. Use the correct series such as BDN’s FRAME-Tite™ for stud-to-plate connections; for heavier connections use METAL-Tite™ or TRUSS-Tite™.
Mistake 2: Undersizing Screw Length or Thread Engagement
If the screw doesn’t sufficiently penetrate through track flange into the substrate, the connection can loosen under load. Ensure you select a screw length that allows full engagement and thread turns.
Mistake 3: Over-driving or Under-driving Screws
Over-driving busts the head or deforms the flange; under-driving means poor pull-out strength. Use the correct driver bit and torque settings, and check seating.
Mistake 4: Studs Not Plumb or Tracks Misaligned
This can result in bowed walls, uneven drywall finish, and difficulty in joining junctions. Use levels, lasers, and correct placement of screws in tracks to keep alignment correct.
Mistake 5: Ignoring Corrosion or Environmental Factors
Using indoor-grade screws in external or high-humidity environments can lead to flash corrosion. Choose coated screws suited to the environment.
Mistake 6: Poor Finish Preparation
Leaving protruding screw heads, unclean stud surfaces, or metallic debris can compromise drywall finish or cause rust staining. Clean thoroughly, ensure flush screws, ensure edge conditions are neat.
Additional Considerations for DIY vs Professional Builders
For Professionals
- Efficiency is key — using collated screws and auto-feed screw guns to reduce labour time.
- Specification adherence: ensuring systems comply with codes (fire, acoustic, structural) and screw choices (diameter, coating, length) align with engineering documents.
- Record keeping: specifying screw series, coating class, batch numbers (for warranties) and ensuring supply from certified manufacturers.
- Coordination: integrating services (electrical, mechanical) with stud wall installation and future finish (drywall, cladding).
For DIY Users
- Focus on simplicity and reliability: use pre-cut stud lengths, ensure track alignment, pick screw kits from trusted manufacturers such as BDN and follow torque/driver instructions.
- Use clocks and guides: Follow manufacturer instructions for screw spacing, avoid over-driving with cordless tools.
- Pre-plan for finish: Ensure studs are flush, screws are seated, cut edges are deburred before drywalling or cladding.
- Check for environment: If this is a shed, garage or outdoor wall, ensure screws are coated for exposure — pick the correct series from BDN’s catalogue rather than standard indoor screws.
When in doubt: use slightly heavier gauge stud or upgrade screw series rather than undersize.
Conclusion
Installing steel stud framing correctly is a craft that blends precision, the right materials, and the right fixings. For anyone learning how to install steel studs, understanding the importance of track alignment, accurate stud placement, proper screw selection, and disciplined driver technique is essential.
Using manufacturer-designed screws like BDN Fasteners’ FRAME-Tite™, METAL-Tite™, and TRUSS-Tite™ series gives you the assurance of purpose-built fixings with well-documented properties: penetration ratings, high-corrosion coatings, flat-top or specialised head styles, and compatibility with steel-to-steel connections.
By applying the planning, installation and checklists described here, you’ll ensure your steel stud wall lives up to its promise — dimensionally accurate, structurally sound, aesthetically clean and built to last.
Read more:
How to Attach Wood to Steel Frame? The Best Methods Explained
What Are the Best Screws for Framing? 10 Key Factors to Consider
What Screws to Use for Metal Studs? 10 Must-Know Selection Tips

