Polycarbonate Roofing Fixing Instructions: 8 Roof Fixing Tips
As with fixing metal roofing sheets to steel or wooden substrates, fixing polycarbonate sheets is no different, and the basic polycarbonate roofing fixing instructions when using fasteners remain the same and can be found in the following articles.

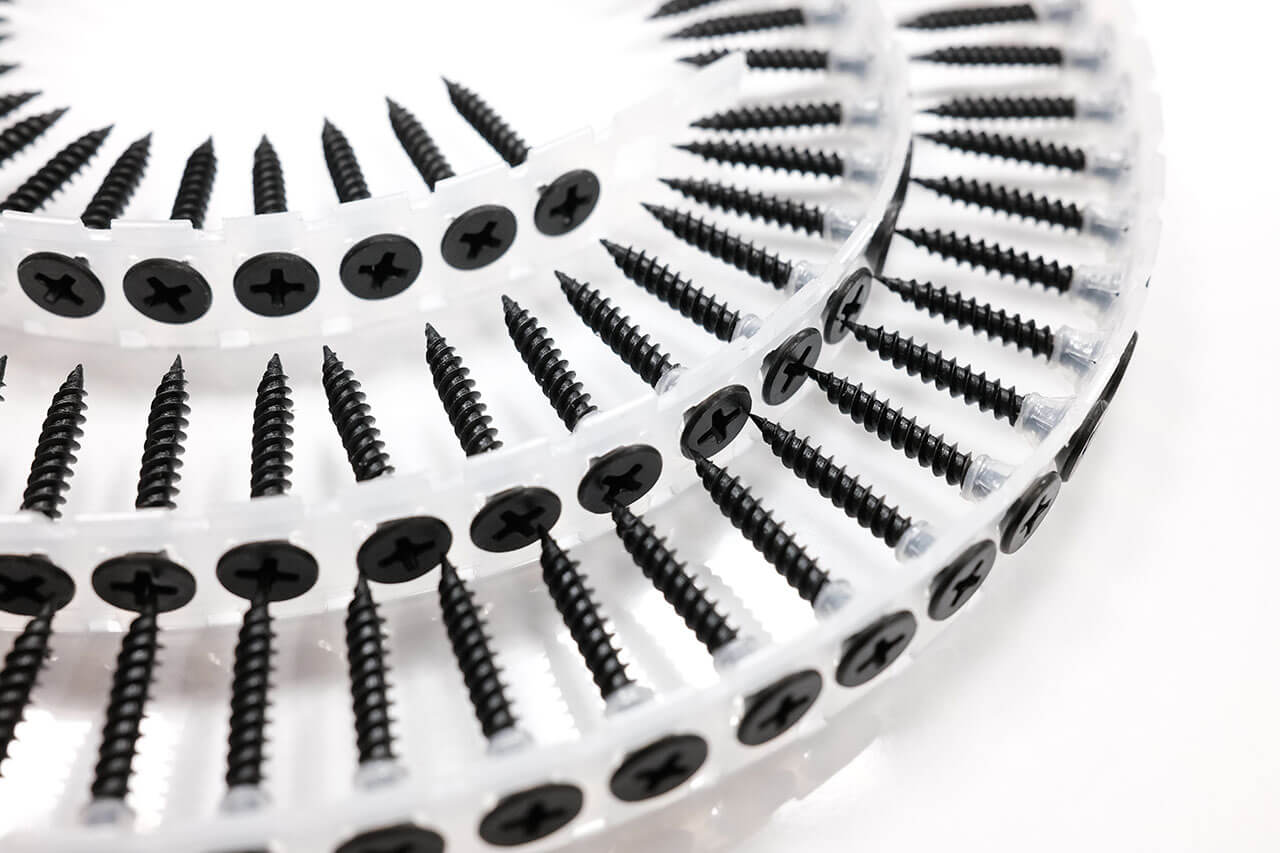
Compared to fixing metal roofing sheets, the biggest difference when fixing polycarbonate sheets is the high coefficient of thermal expansion rate. Common among most thermoplastics, allowances and extra spacing should be reserved on frames or purlins, and dedicated screws such as BDN POLY-FAST™ and PolyXpand™ fasteners which create an expansion hole whilst drilling should also be used.
Preparations Prior to Installation:
- Avoid placing polycarbonate sheets directly on rough surfaces or leaning against bare walls.
- Make sure that frames are clean, and surface of the insert groove flat.
- Choose a matching thickness for the required bending radius.
- Leave margin for expansion and contraction, and depth when inserting the sheets.
- Use only neutral cure silicone or gasket material for gap-filling. Do not use any PVC materials.
- Use electric cutters (blades should be made of tungsten carbide). Sheets should be securely fixed to avoid vibration; the protective film should not be removed while cutting.
- Protective films should remain until the installation is completed.
- Protective film should face the sun.
Polycarbonate roofing fixing instructions
Next, let’s talk about polycarbonate roofing fixing instructions. Corrugated polycarbonate profiles are suitable for single or multi-panel skylights or side lights in roofs and walls of metal-clad structures. They can also be used independently as a roofing or cladding material on Shed, Gable, Hip or Dome type arrangements. Solid flat polycarbonate profiles are equally suitable for roofing skylights and is a great alternative to glass skylights due to its significant weight reduction and being virtually unbreakable.
Roof fixing Installation & Fastening Tips:
- Roof Pitch – Polycarbonate roofing fixing should be installed at pitch rates of 10% or more. If installed at a lower pitch, additional sealing should be applied to insure weather resistance. A minimum slope of more than 5% is recommended when installing.
- For single panel runs, the long side outermost crests of the polycarbonate panel should lap over matching adjacent crests of metal panels on both sides.
- For multi-panel runs, begin installation on the side away from wind and rain direction. The middle panels should be installed with the short crest edge overlapping the top of a longer one. The outermost panels on both length sides will lap over the adjacent matching metal panels, as in a single panel run, unless designed otherwise.
- Allow for expansion & contraction at fasteners – using BDN POLY-FAST™ and PolyXpand™ fasteners will eliminate the need for pre-drilling an expansion hole. The thermal expansion hole drilling and screw fixing are completed in one-go.
- Drive fasteners perpendicular to the polycarbonate roofing sheet.
- Start the installation from the bottom up, on one side, and work your way to the left or right. Never start working from both ends to the middle. The Top panel always lap over the lower one.
- Start fastening screws on the lower edge purlin (end-lap), through every 2nd crest. Fasten screws at the internal and upper edge purlins through every 3rd crest, starting from the same side as the lower edge purlin.
- Do not over-tighten or under-tighten screws. Doing so may undermine the integrity and weathering resistance of the polycarbonate roof fixing.